
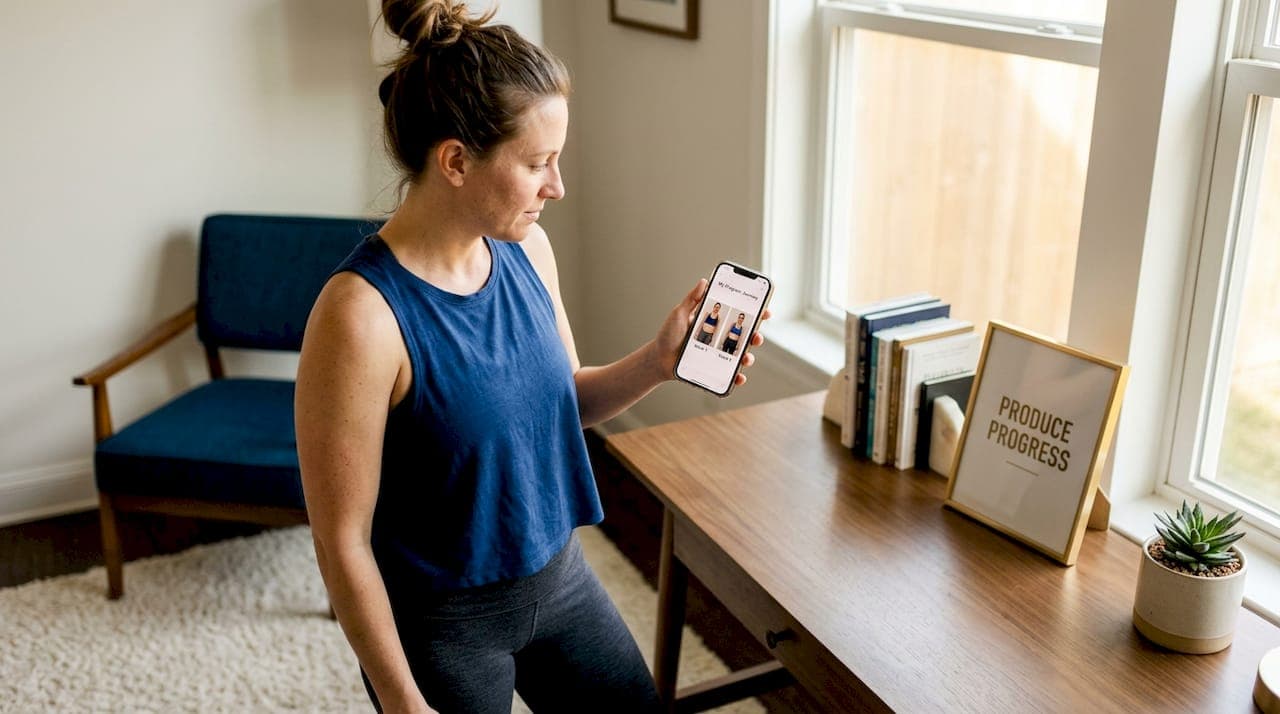
You step on the scale and the number barely moves. You look in the mirror and see the same face staring back. But your clothes fit differently, your energy is up, and something has clearly shifted. This is exactly why before after photos weight loss tracking exists. The scale measures one data point. Photos capture everything else: posture, muscle definition, facial changes, and the kind of progress that numbers simply cannot quantify. This guide walks you through how to set up, take, and use progress photos to stay motivated, measure real change, and build a visual record of your transformation.
Table of Contents
- Key Takeaways
- Before after photos weight loss tracking: how to prepare
- How to take effective progress photos every time
- Common mistakes that undermine your photo tracking
- How to analyze your photos and use them to stay on track
- My honest take on photo tracking after years of seeing it work
- How Daylahealth supports your weight loss progress
- FAQ
Key Takeaways
| Point | Details |
|---|---|
| Photos reveal what scales miss | Progress pictures capture muscle tone, posture, and body composition shifts that scale numbers never show. |
| Consistency is everything | Same lighting, angle, clothing, and time of day make your photo comparisons accurate and meaningful. |
| Expect visible change by weeks 4–8 | Significant transformation in facial definition and body shape typically becomes clear at 3–6 months. |
| Combine photos with other metrics | Use photos alongside measurements and scale readings for a full, honest picture of your progress. |
| Long-term timelines tell the real story | A continuous photo diary beats a single before and after snapshot for tracking your weight loss journey. |
Before after photos weight loss tracking: how to prepare
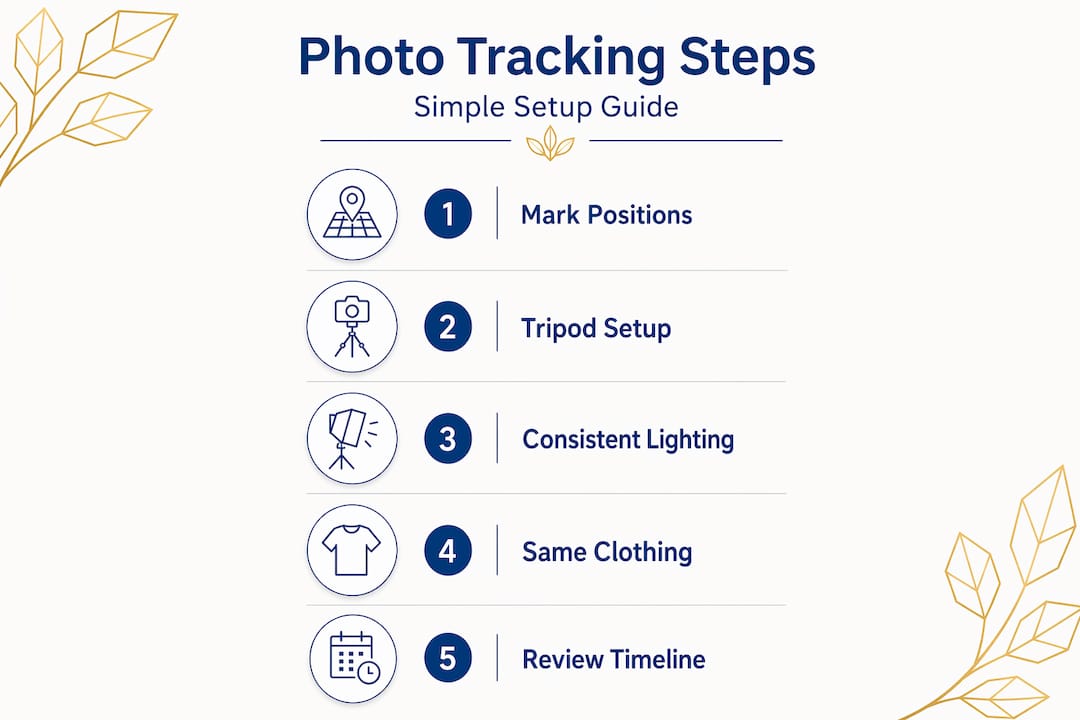
Before you take a single photo, the setup matters more than most people realize. Inconsistent conditions are the number one reason progress photos fail to show real change. A photo taken in dim bathroom light with a phone held at chest height tells you almost nothing compared to a well-lit, tripod-mounted shot taken from the same spot every time.
Here is what you need before you start:
- Camera or phone with a fixed position. A tripod or phone mount is non-negotiable. Holding your phone at arm's length changes the angle every single time, which distorts comparisons.
- Consistent lighting. Natural light from a window or a bright overhead light works well. Avoid harsh shadows or low light. The same light source, every session.
- A neutral background. A plain wall or door gives you a clean reference point. Busy backgrounds make it harder to see body outline changes.
- Designated clothing. Wear the same fitted shorts or underwear for every session. Loose clothing hides changes; different clothing makes comparisons unreliable.
- Three angles. Front, side, and back. Multiple angles capture different muscle and fat changes that a single view misses entirely.
| Setup Element | Why It Matters |
|---|---|
| Tripod or mount | Keeps camera height and angle identical every session |
| Consistent lighting | Prevents shadows from distorting body shape perception |
| Same clothing | Removes variables that hide or exaggerate changes |
| Neutral background | Keeps focus on body outline and composition |
| Three angles | Captures front, side, and back changes comprehensively |
Pro Tip: Mark the floor with tape where you stand and mark the wall where your tripod sits. This takes 30 seconds and eliminates angle drift completely.
Set realistic expectations before you begin. Visible changes typically appear between weeks 4 and 8, with significant transformation in facial definition and body composition becoming clear when comparing photos 3 to 6 months apart. Starting with that timeline in mind prevents early discouragement.
How to take effective progress photos every time
Consistency in execution is what separates a useful weight loss photo diary from a confusing collection of random snapshots. Follow these steps every single session.
- Take photos at the same time of day. Morning, before eating or drinking, is ideal. Your body is at its most consistent state. Evening photos can look noticeably different due to food, water, and bloating.
- Stand in the same position. Feet shoulder-width apart, arms slightly away from your sides. Do not flex or suck in. Relaxed and natural is the goal. Flexing makes your after photos look better but destroys the accuracy of the comparison.
- Capture all three angles. Front facing, left or right side profile, and back. Set a timer or use a remote shutter so you are not twisting to reach the phone.
- Document the date immediately. Rename the file or add a date stamp. Many weight loss tracking apps do this automatically, but if you are using a standard camera roll, do it manually before you forget.
- Add brief notes. Weight that day, how your clothes fit, energy level, any changes in appetite. This context transforms a photo into a data point. A timestamped photo library with notes enables more objective long-term tracking without social pressure.
- Choose your interval. Weekly photos give you more data points but can feel discouraging early on. Monthly photo check-ins are widely recommended because they allow enough time for visible change to accumulate between sessions.
- Use an app for organization. Apps like Body Transformation Progress include automatic cropping and body detection features, and some generate time-lapse videos that make gradual progress impossible to deny.
Pro Tip: Create a private, locked album on your phone dedicated only to progress photos. Keeping them separate from your regular camera roll protects your privacy and makes it easier to scroll through your timeline without distraction.
The psychological dimension matters here too. Transformation progress pictures often capture psychological shifts, not just physical ones. The posture in your after photos, the way you hold yourself, the expression on your face: these are real, measurable changes that a scale will never record.

Common mistakes that undermine your photo tracking
Even people who commit to tracking weight loss journey through photos often make avoidable errors that make their records less useful or even discouraging. Here are the most common ones.
- Changing the angle or distance between sessions. Even a few inches closer to the camera makes you look larger. A slightly different angle can make fat distribution look completely different. This is why the tape mark system described above is worth doing.
- Using photos as your only metric. Photos are powerful, but they work best alongside measurements and scale readings. Body recomposition can cause scale weight to stall while fat loss and muscle gain are actively happening. Without measurements, you might dismiss real progress.
- Comparing too frequently. Checking photos daily or even weekly in the first month often leads to frustration. The changes are real but too subtle to see at that interval. Patience with the timeline is not optional.
- Harsh self-criticism during review. Looking at your before photos with judgment rather than curiosity is one of the fastest ways to abandon the process. Your before photo represents where you started, not who you are.
- Relying on a single dramatic before and after. One comparison shot tells a fraction of the story. Regular photo tracking through a continuous timeline reveals gradual changes that a single dramatic comparison hides entirely.
"Progress is rarely linear, and your photos will reflect that. Some months will show dramatic change. Others will look nearly identical. Both are part of the same process."
The psychological effects of self-comparison are real and worth taking seriously. Visual evidence in progress photos motivates longer-term adherence more than scale data alone, but only when you approach the review process with self-compassion rather than self-criticism. If a particular photo session feels demoralizing, step back, add a note about how you feel, and return to the images in a week with fresh eyes.
How to analyze your photos and use them to stay on track
Taking the photos is only half the work. Knowing how to read them and act on what you see is where the real value lives.
| What to Look For | What It Tells You |
|---|---|
| Waist and hip outline | Fat distribution changes, often visible before scale numbers shift |
| Shoulder and back definition | Muscle development from resistance training or increased activity |
| Facial structure | One of the first places visible weight loss appears, often by weeks 4–8 |
| Posture differences | Improved core strength and body awareness over time |
| Overall silhouette | Broad body composition changes across months of consistent effort |
When you sit down to review your photos, place them side by side rather than scrolling through them individually. Most weight loss tracking apps have a comparison view for exactly this reason. Looking at month one and month four simultaneously makes changes visible that you would never notice in isolation.
Celebrate the details, not just the dramatic shifts. A narrower waist, a more defined jawline, or straighter posture in your photos are all legitimate wins. Participants in medical weight loss programs commonly lose about 27 lbs in 6 months, with waist circumference shrinking 2 to 4 inches, and monthly photos are the most reliable way to document that kind of change as it happens.
Pro Tip: Bring your photo timeline to appointments with your doctor or health coach. Visual documentation helps your provider assess your progress accurately and adjust your plan based on real evidence rather than scale numbers alone.
Your photos also serve as a feedback loop for your program. If three months of photos show no visible change despite consistent effort, that is data. It tells you something in your approach needs adjusting, whether that is nutrition, training, sleep, or medication support. Weight loss transformations involve medical, psychological, and lifestyle factors working together, and your photo record helps you and your care team see which levers are moving.
My honest take on photo tracking after years of seeing it work
I have watched people abandon perfectly good weight loss programs because the scale was not moving. And I have watched those same people rediscover their motivation the moment they placed a month-one photo next to a month-four photo and actually saw what had changed. That moment is not subtle. It is often genuinely emotional.
What I have learned is that the scale measures your relationship with gravity. Photos measure your relationship with your body. Those are not the same thing. When someone is in a body recomposition phase, gaining muscle while losing fat, the scale can sit completely still for weeks. The photos tell a completely different story. I have seen people ready to quit who looked at their side-profile photos and realized their waist had visibly narrowed. That realization kept them going.
The mistake I see most often is treating photos as a vanity exercise rather than a clinical tool. Your progress photos are data. They belong in the same category as your measurements and your lab results. When you approach them that way, the emotional charge around them decreases and the utility increases.
My other strong opinion: do not share your photos publicly unless you genuinely want to. The motivation to keep tracking should come from your own progress, not from external validation. A private, timestamped library that only you can see is more honest and more sustainable than a public diary built for an audience.
Start your photo diary on day one. Not when you feel ready. Not after you have lost the first ten pounds. Day one. The before photo is the most important one you will ever take.
— Daylahealth
How Daylahealth supports your weight loss progress
If your progress photos are showing slower results than expected, or if the scale has stalled despite consistent effort, medical support may be the missing piece. GLP-1 medications have helped many people see measurable results in as little as 4 weeks, with early changes in body measurements that show up clearly in monthly progress photos.

Daylahealth offers doctor-led, personalized GLP-1 care designed to accelerate visible results while you track your transformation with photo documentation. When medication works alongside your photo tracking system, you have both the clinical support and the visual evidence to stay motivated through every phase of your program. Explore GLP-1 weight loss programs at Daylahealth to see how personalized medical care can make your before and after photos reflect the results you are working toward. For those interested in additional options, Daylahealth also offers peptide therapy for weight loss to complement your overall program.
FAQ
How often should I take weight loss progress photos?
Monthly intervals are widely recommended because they allow enough time for visible change to accumulate. Weekly photos can feel discouraging early in a program when changes are too subtle to see between sessions.
What is the best setup for accurate before and after photos?
Use a tripod, consistent lighting, a neutral background, and the same fitted clothing every session. Mark your floor position with tape to keep the camera distance and angle identical each time.
Can progress photos show results even when the scale is not moving?
Yes. Body recomposition, where you lose fat and gain muscle simultaneously, can keep scale weight flat while photos reveal clear changes in body shape, waist size, and muscle definition.
When will I start to see visible changes in my photos?
Visible weight loss changes typically appear between weeks 4 and 8 of a consistent program. Significant transformation in facial definition and body composition becomes clear when comparing photos taken 3 to 6 months apart.
Should I use an app to organize my weight loss photo diary?
Using a dedicated weight loss tracking app adds automatic date stamps, comparison views, and in some cases time-lapse video features that make gradual progress far easier to recognize and celebrate over time.